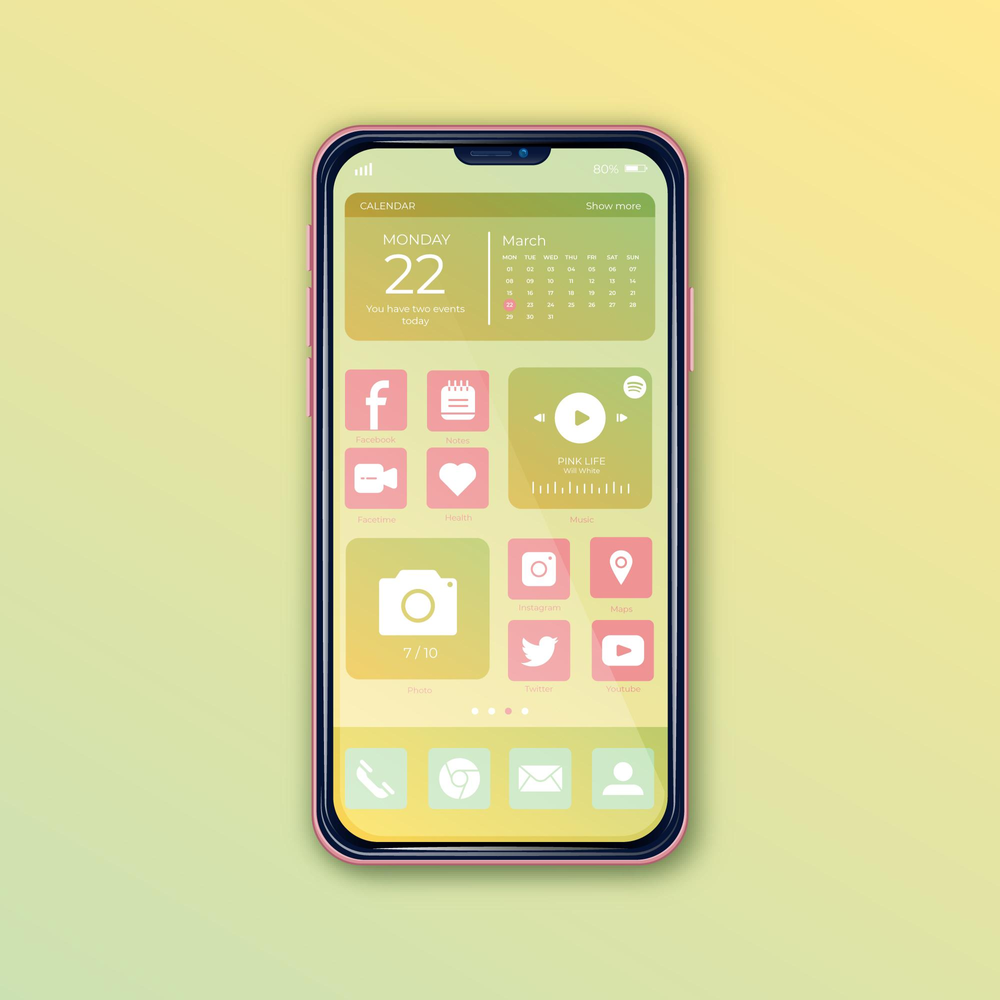
With Widgetsmith, you can customize your home screen like never before. This application begins with a wide selection of highly customizable widgets, ranging from date and weather to astronomy. The free guide explains to you How you can use Widgetsmith to create prettier iPhone widgets. Widgetsmith makes customizing your home screen a breeze.

Here’s how you can make better iPhone widgets using Widgetsmith –
We present to you Widgetsmith, an app that makes your home screen aesthetic dreams come true. If you wish to enhance your screens with more widgets or just beautiful widgets in general, you’ve come to the right place. Below is a Widgetsmith.
- Make sure the widget you want isn’t available from Apple – It’s great to use Widgetsmith for more custom widgets, but if you just want to display your most-used apps, and it’s an app that Apple already supports for widgets, using the built-in widget system is much simpler. If you want to see which widgets are compatible with iOS 14 or higher, long press anywhere on the home screen. Once all the apps move, tap the “+” sign in the upper left corner to see their selection. Tap on the widget you want and follow the instructions from there.
- Okay, so Apple doesn’t have your favorite widget, or it’s a little unappealing. It’s time to get Widgetsmith on your computer – Despite the fact that the app itself is free, certain widget designs can only be had in the premium version, priced at $ 1.99 a month or $ 19.99 a year.
- Open Widgetsmith and select the widget size you desire – You can choose from small, medium, or large widgets, with the same widget content options for each size.
- Decide on the content of your widget after you’ve chosen your size.
- Exit the application and reposition your home screen – When you’ve finished designing your widget, head back to Apple’s widget hub. Once you tap the “+” button, the Widgetsmith app should appear. Select it.
- You can select the widget size you want to add – To add a small widget, click on the small option at the bottom and hit “Add widget”. To add a medium or large widget, scroll right until the widget is the right size, then tap “Add widget”. This will show the widget empty.
- Select the newly added widget by tapping on it – In Widgetsmith, the current widget name should be blank, something like “Small # 1”. Tap on that name, and a list of the little widgets you have designed will be displayed. Next, pick the widget you just designed and renamed.
- Save your widget and admire it – If you choose not to use your widget, you can remove it by holding it down while tapping “Remove widget.”. The widget will appear wherever you placed it when you created it.
- Try using above steps to create widgets with Widgetsmith for your iPhone.
Repeat this process as many times as you like, making widgets that have any shape, size, or theme you desire with Widgetsmith. It may seem tedious, but beauty is pain!
The purpose of this article is to help you create prettier iPhone widgets with Widgetsmith.
